5 Essential Steps in making a Comic Strip
For those who ever wondered what it takes to make a comic strip, below is a very basic outline of my 5 essential steps in the comic strip making process. While I can’t guarantee you’ll be successful with my process, it seems to work alright for me and can at very least give you a point from which to start.
—
1. Write Down Ideas
My first step is to write down ideas for strips as I think of them. I strongly recommend writing them down as soon as you can. As I have found, ideas can be very fleeting, and some really funny ideas I thought I would remember even five minutes later get lost. I maintain a notebook where I date and write down my ideas. Something as simple as a dollar store coil bound notebook and a pen or pencil can work.
2. Storyboard
My comic strips consist of four panels. I draw a rough layout of four panels and work out some rough dialogue between my characters within that rough storyboard. This storyboard step does not become my final strip, but serves rather as a working version where I can work out dialogue and rough ideas of character placement for reference when prepping the final strip.
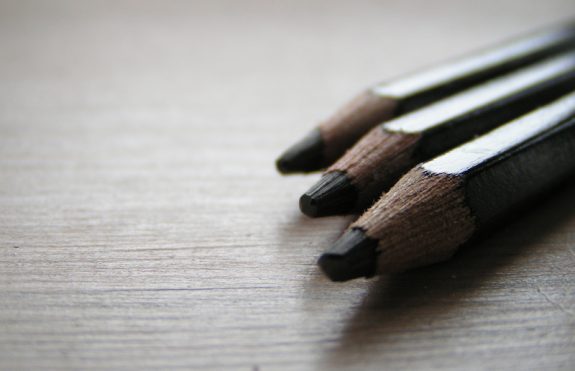
3. Pencils
Based upon the dialogue and layout I developed in my storyboard step, I take a fresh piece of drawing paper and carefully pencil in what will become the finished strip. Using a straight edge and to draw square borders, I follow up with penciling in my dialogue, then following up drawing my characters in the space left over. I like to use a bristol board paper for my finished strips, using Strathmore brand smooth surface bristol board, because I can often find it on sale at a very popular art and craft supply store for a reasonable sale price. For pencil, I just use whatever pencil I have handy, as long as it is a soft graphite that can erase easily in case I mess up.
4. Ink
After my drawings are penciled in, I proceed with putting pen to paper to trace my dialogue and drawings and commit them to a nice black ink outline. This stage really brings some permanence to the strip. I like to use an old fashioned dip pen with a fine point Speedball pen nib, with Speedball black india ink. The type of pen is a personal choice, so use what feels comfortable to you. Some like old school dip pens, some like using india ink and a fine paintbrush, and other like pens like Staedtler pigment liner pens, or Copic multiliner pens. It is all a personal choice of what works for you to achieve the look you want with the feel you enjoy.
5. Erase
My last step is erasing the pencil marks after the ink has dried. I have to emphasize that you need to wait until the ink dries before erasing the leftover pencil outlines, otherwise you risk smearing the ink and ruining the comic strip and having to start all over. If you use a nice black india ink like I do, I just let the ink dry overnight. I haven’t tested how long it needs to dry, but I like to be a bit cautious in this step. I find the Staedtler standard mars plastic eraser works for me on the bristol board. I like to use even eraser strokes in one direction out toward the edge of the paper, because if I erase back and forth as I grew up doing as a kid, it sometimes catches on the paper near the edge and inadvertently creases the paper.
—
And that is Reader’s Digest version of how to make a comic strip, or at least how I like to do it. Of course materials and techniques all vary from artist to artist. I recommend experimenting and finding what works best for you and developing your own style. Then you can stand out from the crowd.
Cheers,
Burton Mikolayenko